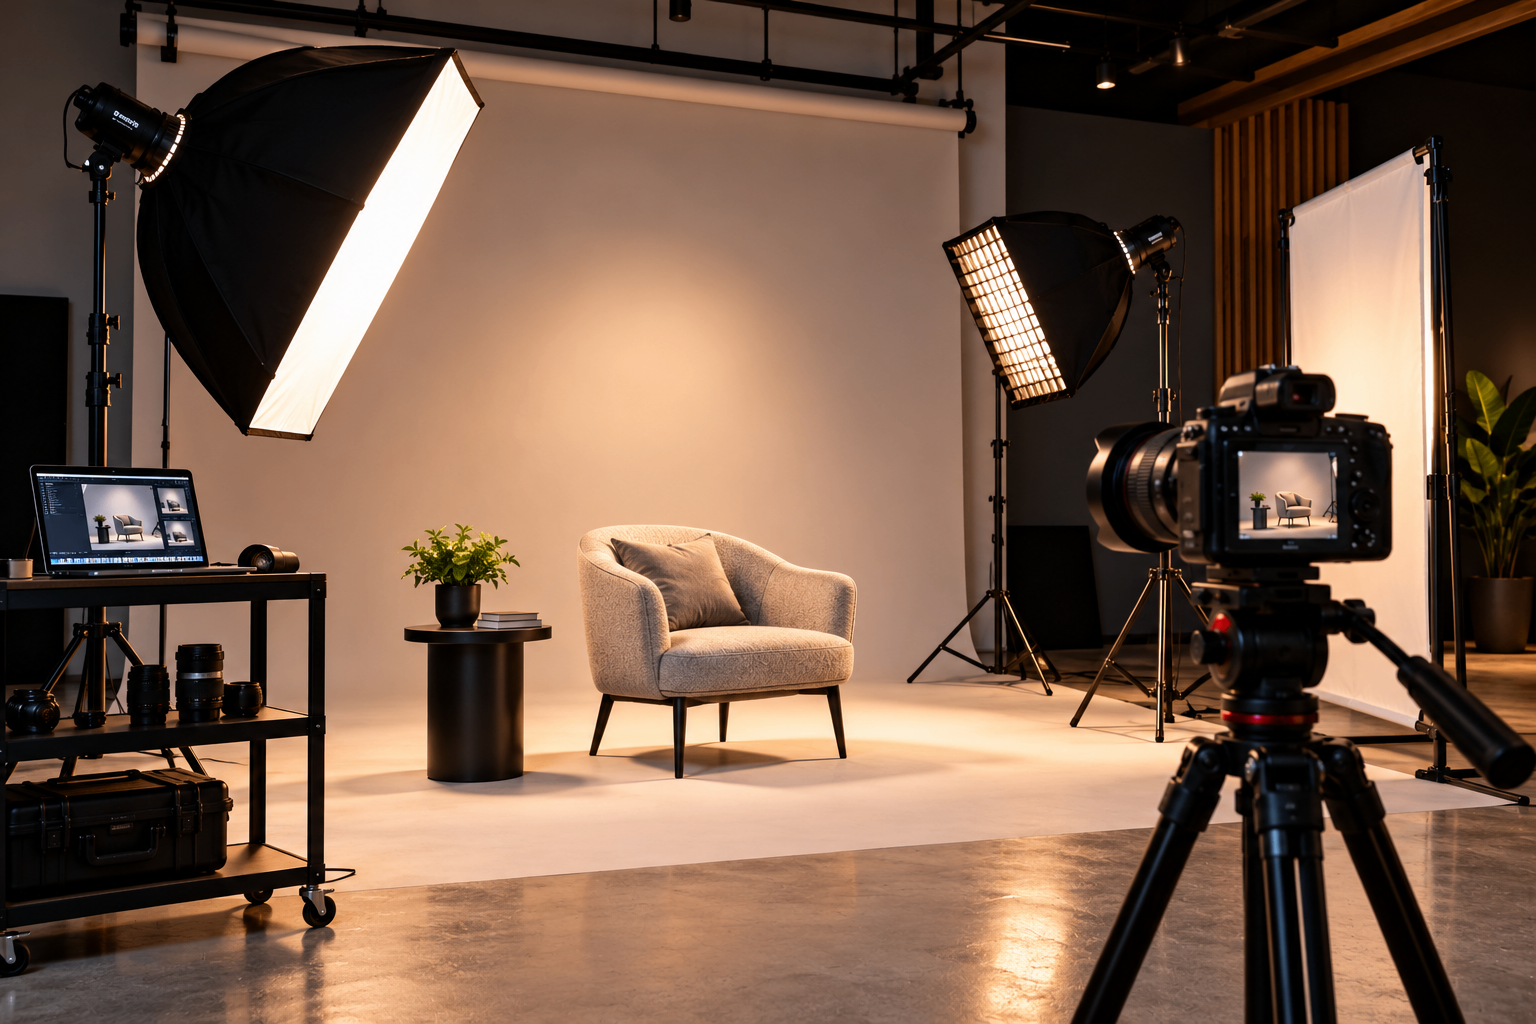
A camera records the light that reaches its sensor. That makes lighting one of the most important parts of photography.
The same subject can look completely different depending on where the light comes from, how soft it is, and how much contrast it creates.
This is why professional photography is not simply about having a good camera.
Understanding basic lighting can help photographers make better decisions about mood, shadows, highlights, background separation, and subject appearance.
Whether you are photographing a person, product, or brand, learning how to control light can improve the consistency of your images.
How Does Lighting Affect a Photograph?
Lighting influences much more than brightness.
Direction of Light
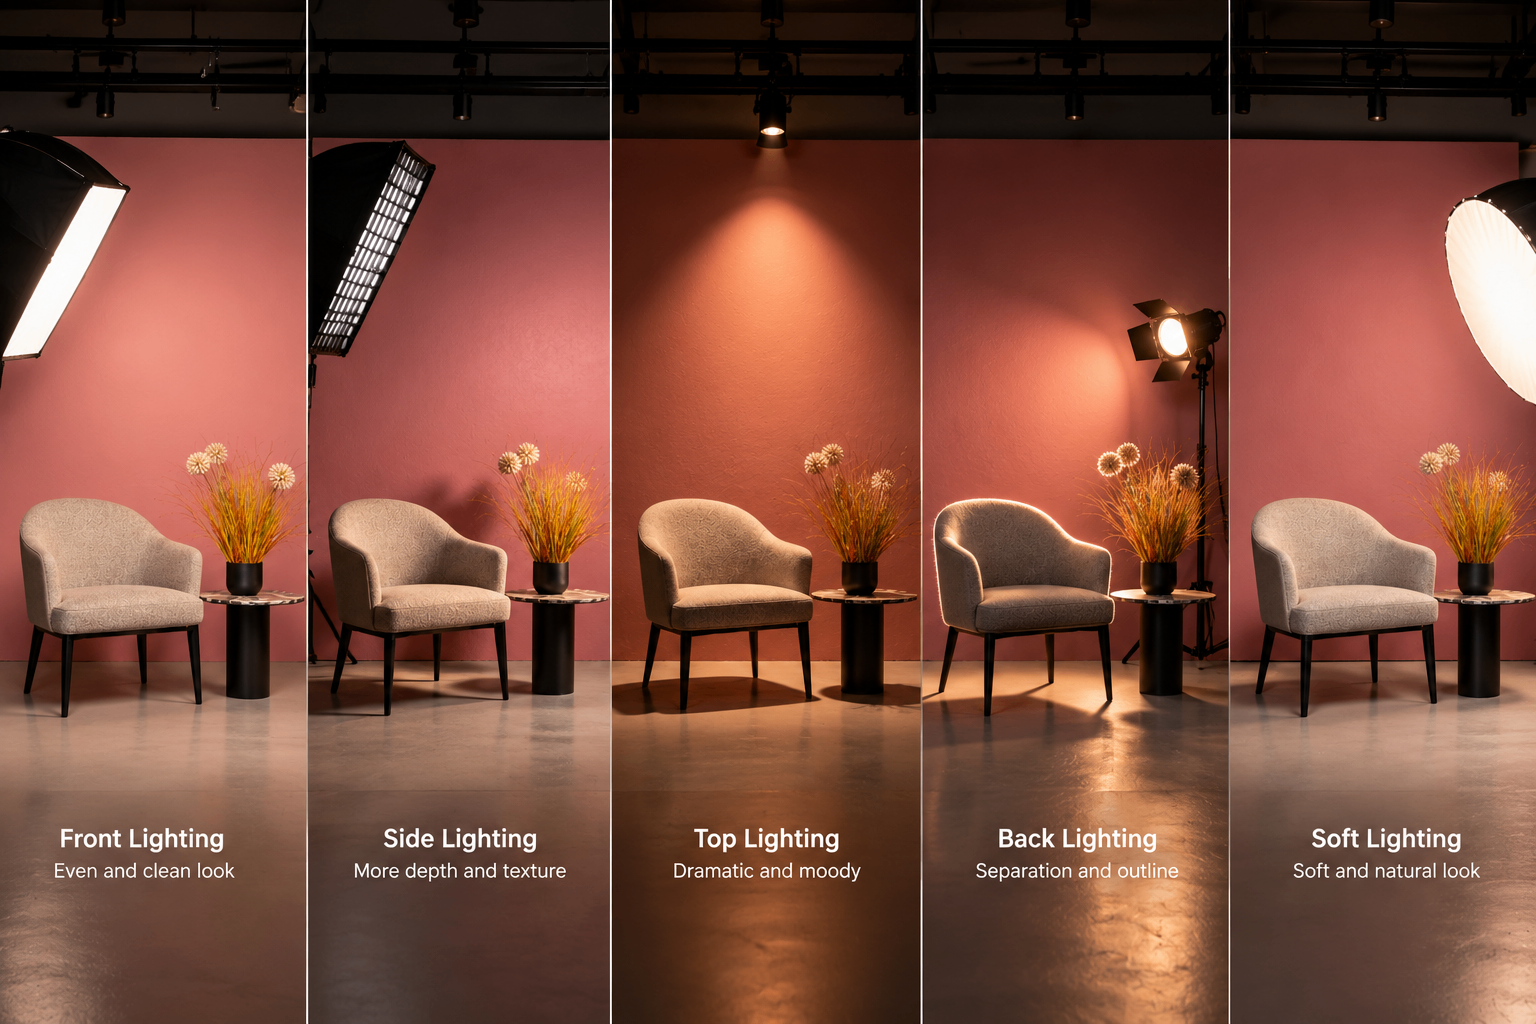
The direction from which light reaches the subject changes the appearance of the image.
Light can come from:
Front
Side
Above
Behind
Different angles around the subject
Front lighting can reduce visible shadows, while side lighting can create stronger shape and depth. Backlighting can create separation and silhouettes depending on how the exposure is handled.
There is no single correct direction. The choice depends on the visual result you want.
Hard Light vs Soft Light
The size and position of a light source affect the softness of shadows.
A larger light source placed relatively close to the subject generally produces softer transitions. Harder light can create stronger shadows and more defined highlights.
Soft light is often useful for portraits when a smoother appearance is desired, while harder light can be useful when stronger contrast and texture are part of the visual style.
Lighting Changes the Mood
Lighting can influence how an image feels.
Different combinations of brightness, shadow, direction, and contrast can create visual impressions such as:
Clean
Bright
Dramatic
Soft
Professional
Cinematic
High contrast
The lighting approach should support the purpose of the photograph rather than simply making everything equally bright.
Lighting Helps Separate the Subject
Lighting can also help separate a subject from the background.
For example, a controlled background light or rim light can create visual separation between the subject and the background.
This can be useful for portraits, commercial photography, interviews, and content creation.
How to Build a Simple Studio Lighting Setup
Start small and add light only where it serves a purpose.
Start With the Main Light
The first light should establish the primary illumination on your subject. This is commonly referred to as the key light.
Its position affects:
Shadow direction
Facial definition
Contrast
Subject brightness
Start with one light and understand its effect before adding more.
Add Control With a Second Light
A second light can be used to control shadows or illuminate another part of the scene.
Depending on the setup, it may be used to:
Reduce contrast
Separate the subject
Illuminate the background
Add another layer of visual depth
More lights do not automatically mean better photographs. Each light should have a clear purpose.
Consider the Background
The background should not be treated separately from the subject.
Lighting the background differently can change how the entire photograph appears.
A brighter background can create a cleaner look, while a darker background can increase contrast and focus attention on the subject.
Watch the Shadows and Highlights
After positioning the lights, look carefully at the shadows and brightest areas.
Check:
Are important facial details visible?
Are highlights too bright?
Are shadows too deep?
Is the subject separated from the background?
Does the lighting match the intended mood?
Small adjustments to light position can sometimes create a significant difference.
Quick Checklist
Before starting your photoshoot, check:
What is the purpose of the photograph?
Where should the main light come from?
Do you need soft or harder light?
What should the background look like?
Are the shadows intentional?
Are highlights under control?
Does the subject separate from the background?
Does the lighting support the desired mood?
Photography at Studio Space Coimbatore
A dedicated studio environment can make lighting easier to experiment with because the photographer can work in a controlled space.
Studio Space Coimbatore provides an environment where photographers and creators can plan their shoots around their required setup and production workflow.
Whether the project involves portraits, commercial photography, content creation, or other controlled shoots, understanding the purpose of each light is more important than simply using more equipment.
Good lighting begins with a clear visual intention.
Questions & Answers
Why is lighting important in photography?
Lighting determines how the subject, shadows, highlights, textures, and background appear in the final photograph.
Is natural light enough for photography?
Natural light can be excellent for photography, but it changes with time, weather, and location. Studio lighting provides greater control and consistency.
Is soft light better than hard light?
Neither is universally better. Soft and hard light create different visual effects and can be selected according to the purpose and style of the photograph.
How many lights do I need for a photoshoot?
There is no fixed number. A single well-positioned light can create an effective photograph. Additional lights should be added when they serve a specific purpose.
Can beginners learn studio lighting?
Yes. Starting with one light and learning how its direction, distance, and size affect the subject is a practical way to understand studio lighting.
Planning a Photoshoot in a Controlled Environment?
Good lighting is not about using the most equipment. It is about understanding what the light is doing and using it intentionally.
Experiment with direction, softness, contrast, and background lighting to find the visual approach that suits your project.
Explore Studio Space Coimbatore for your next photography session.
Comments
Leave a comment
Comments are reviewed before they appear.